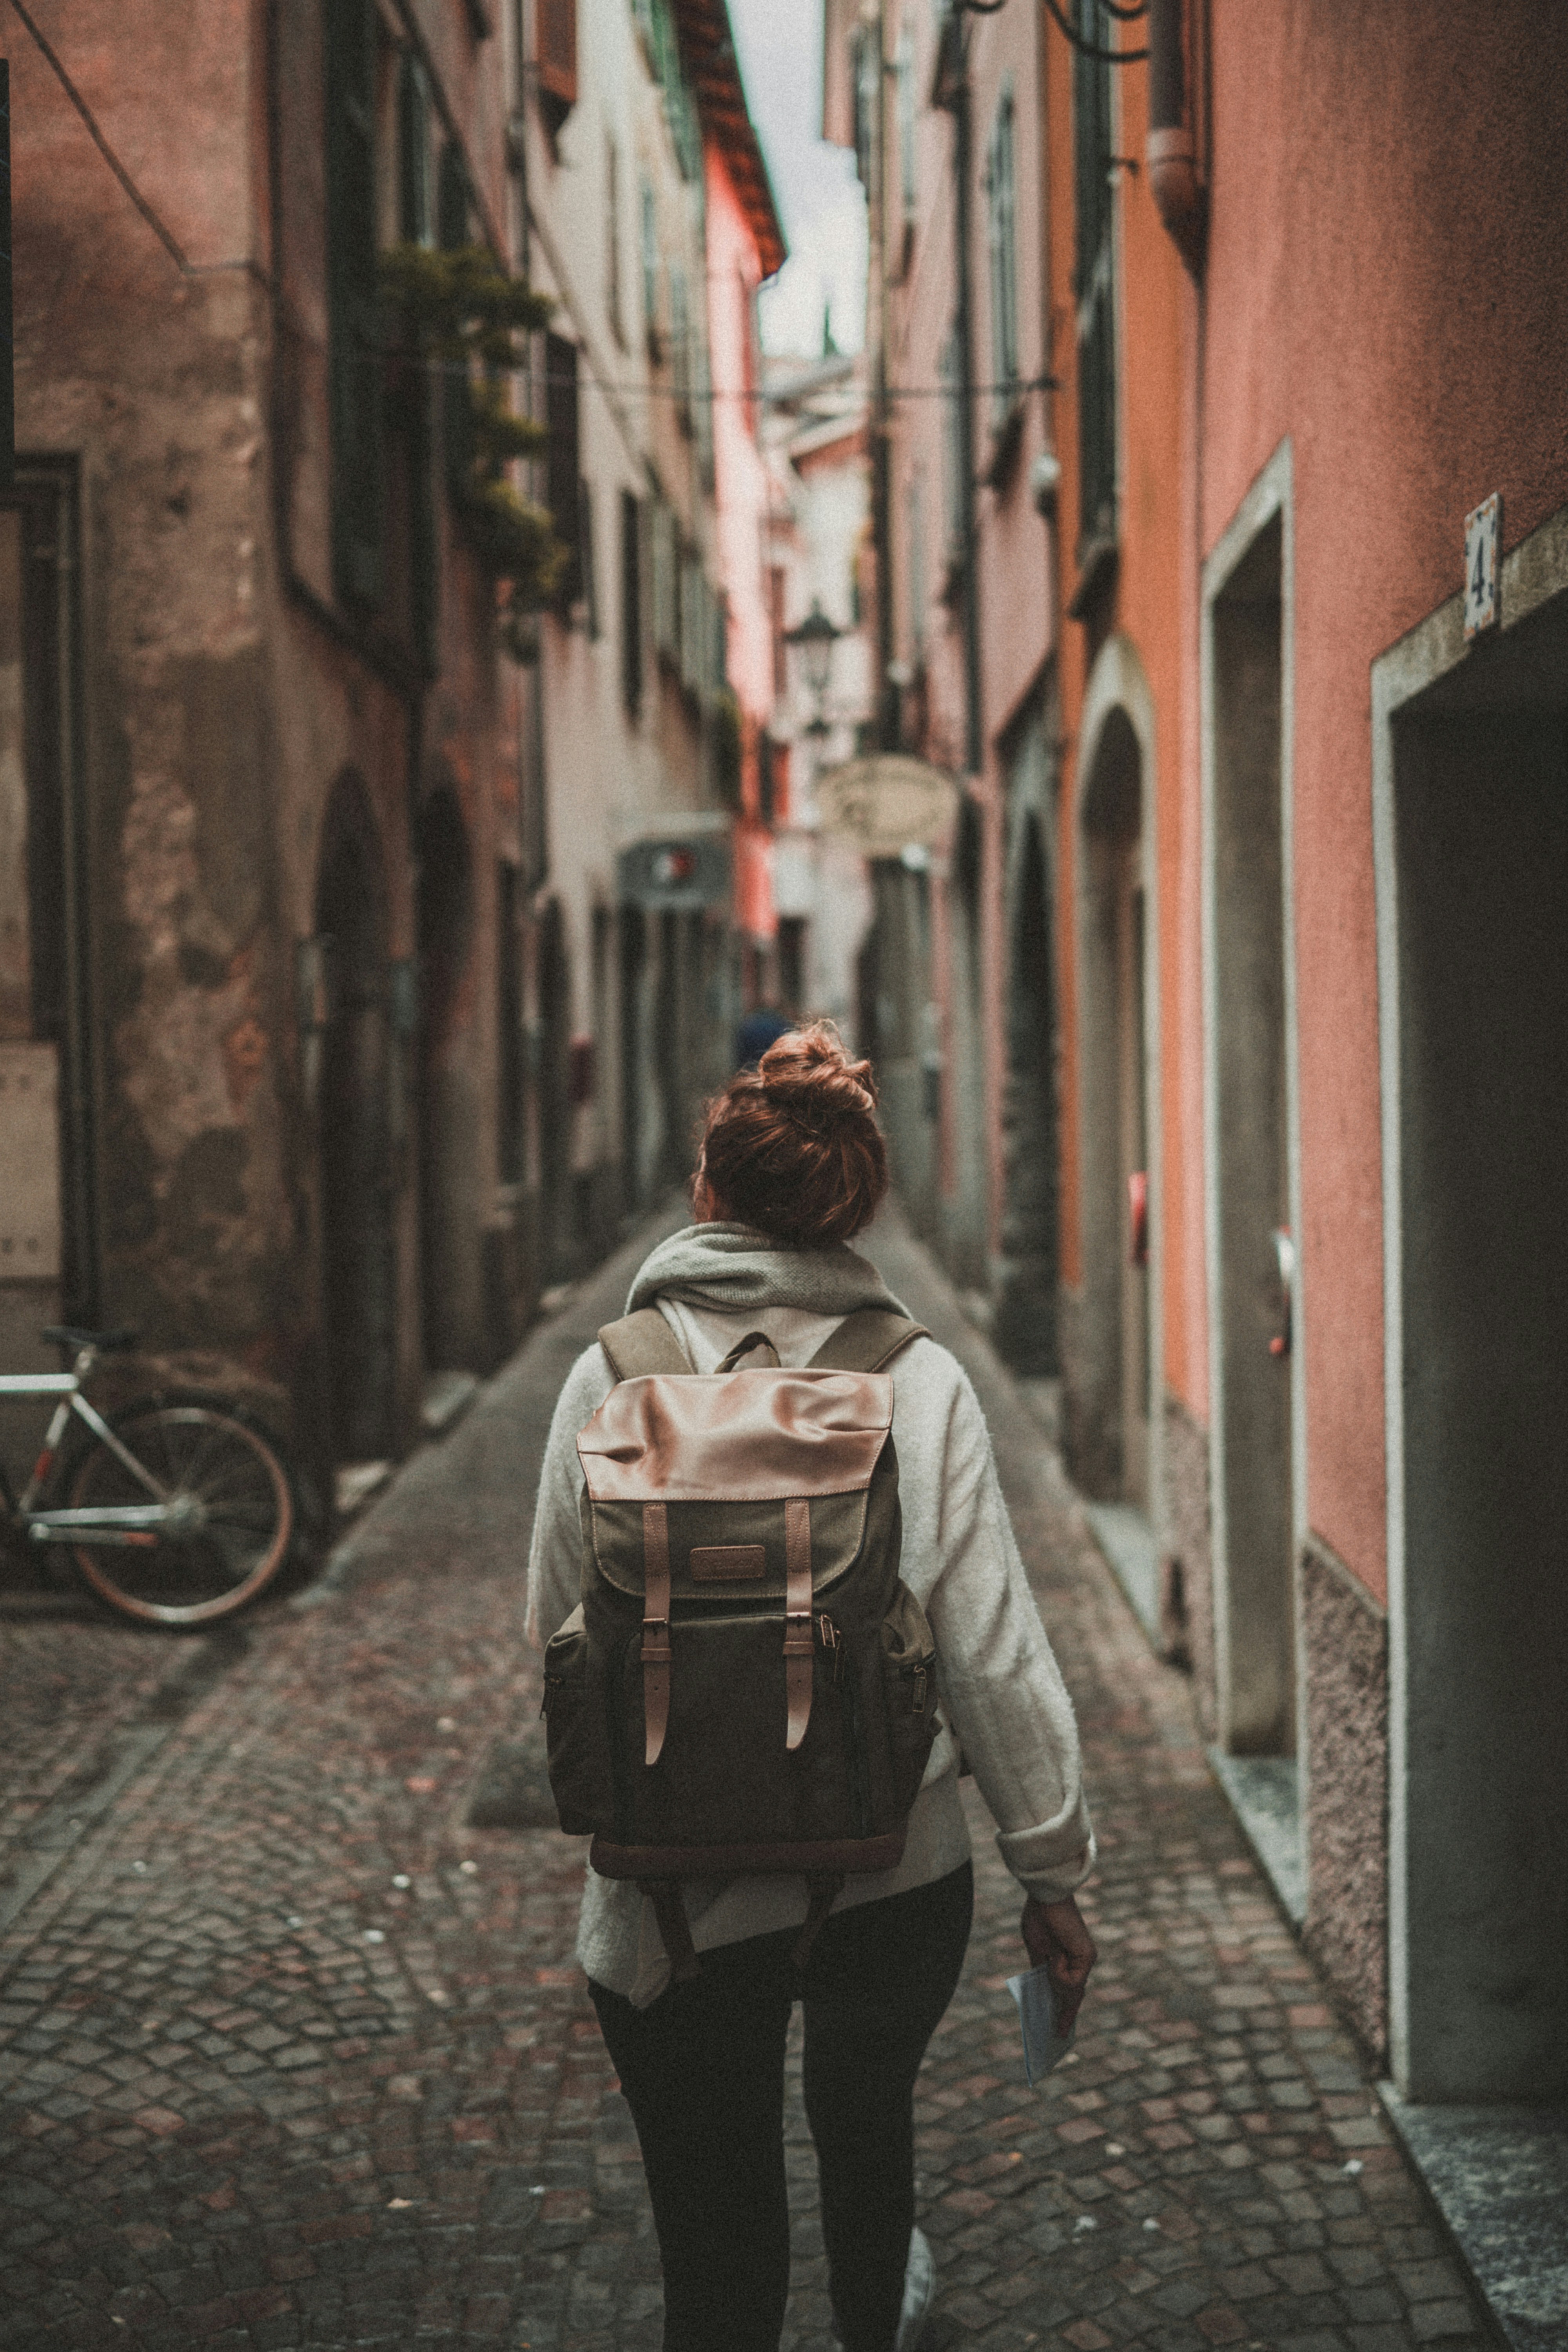
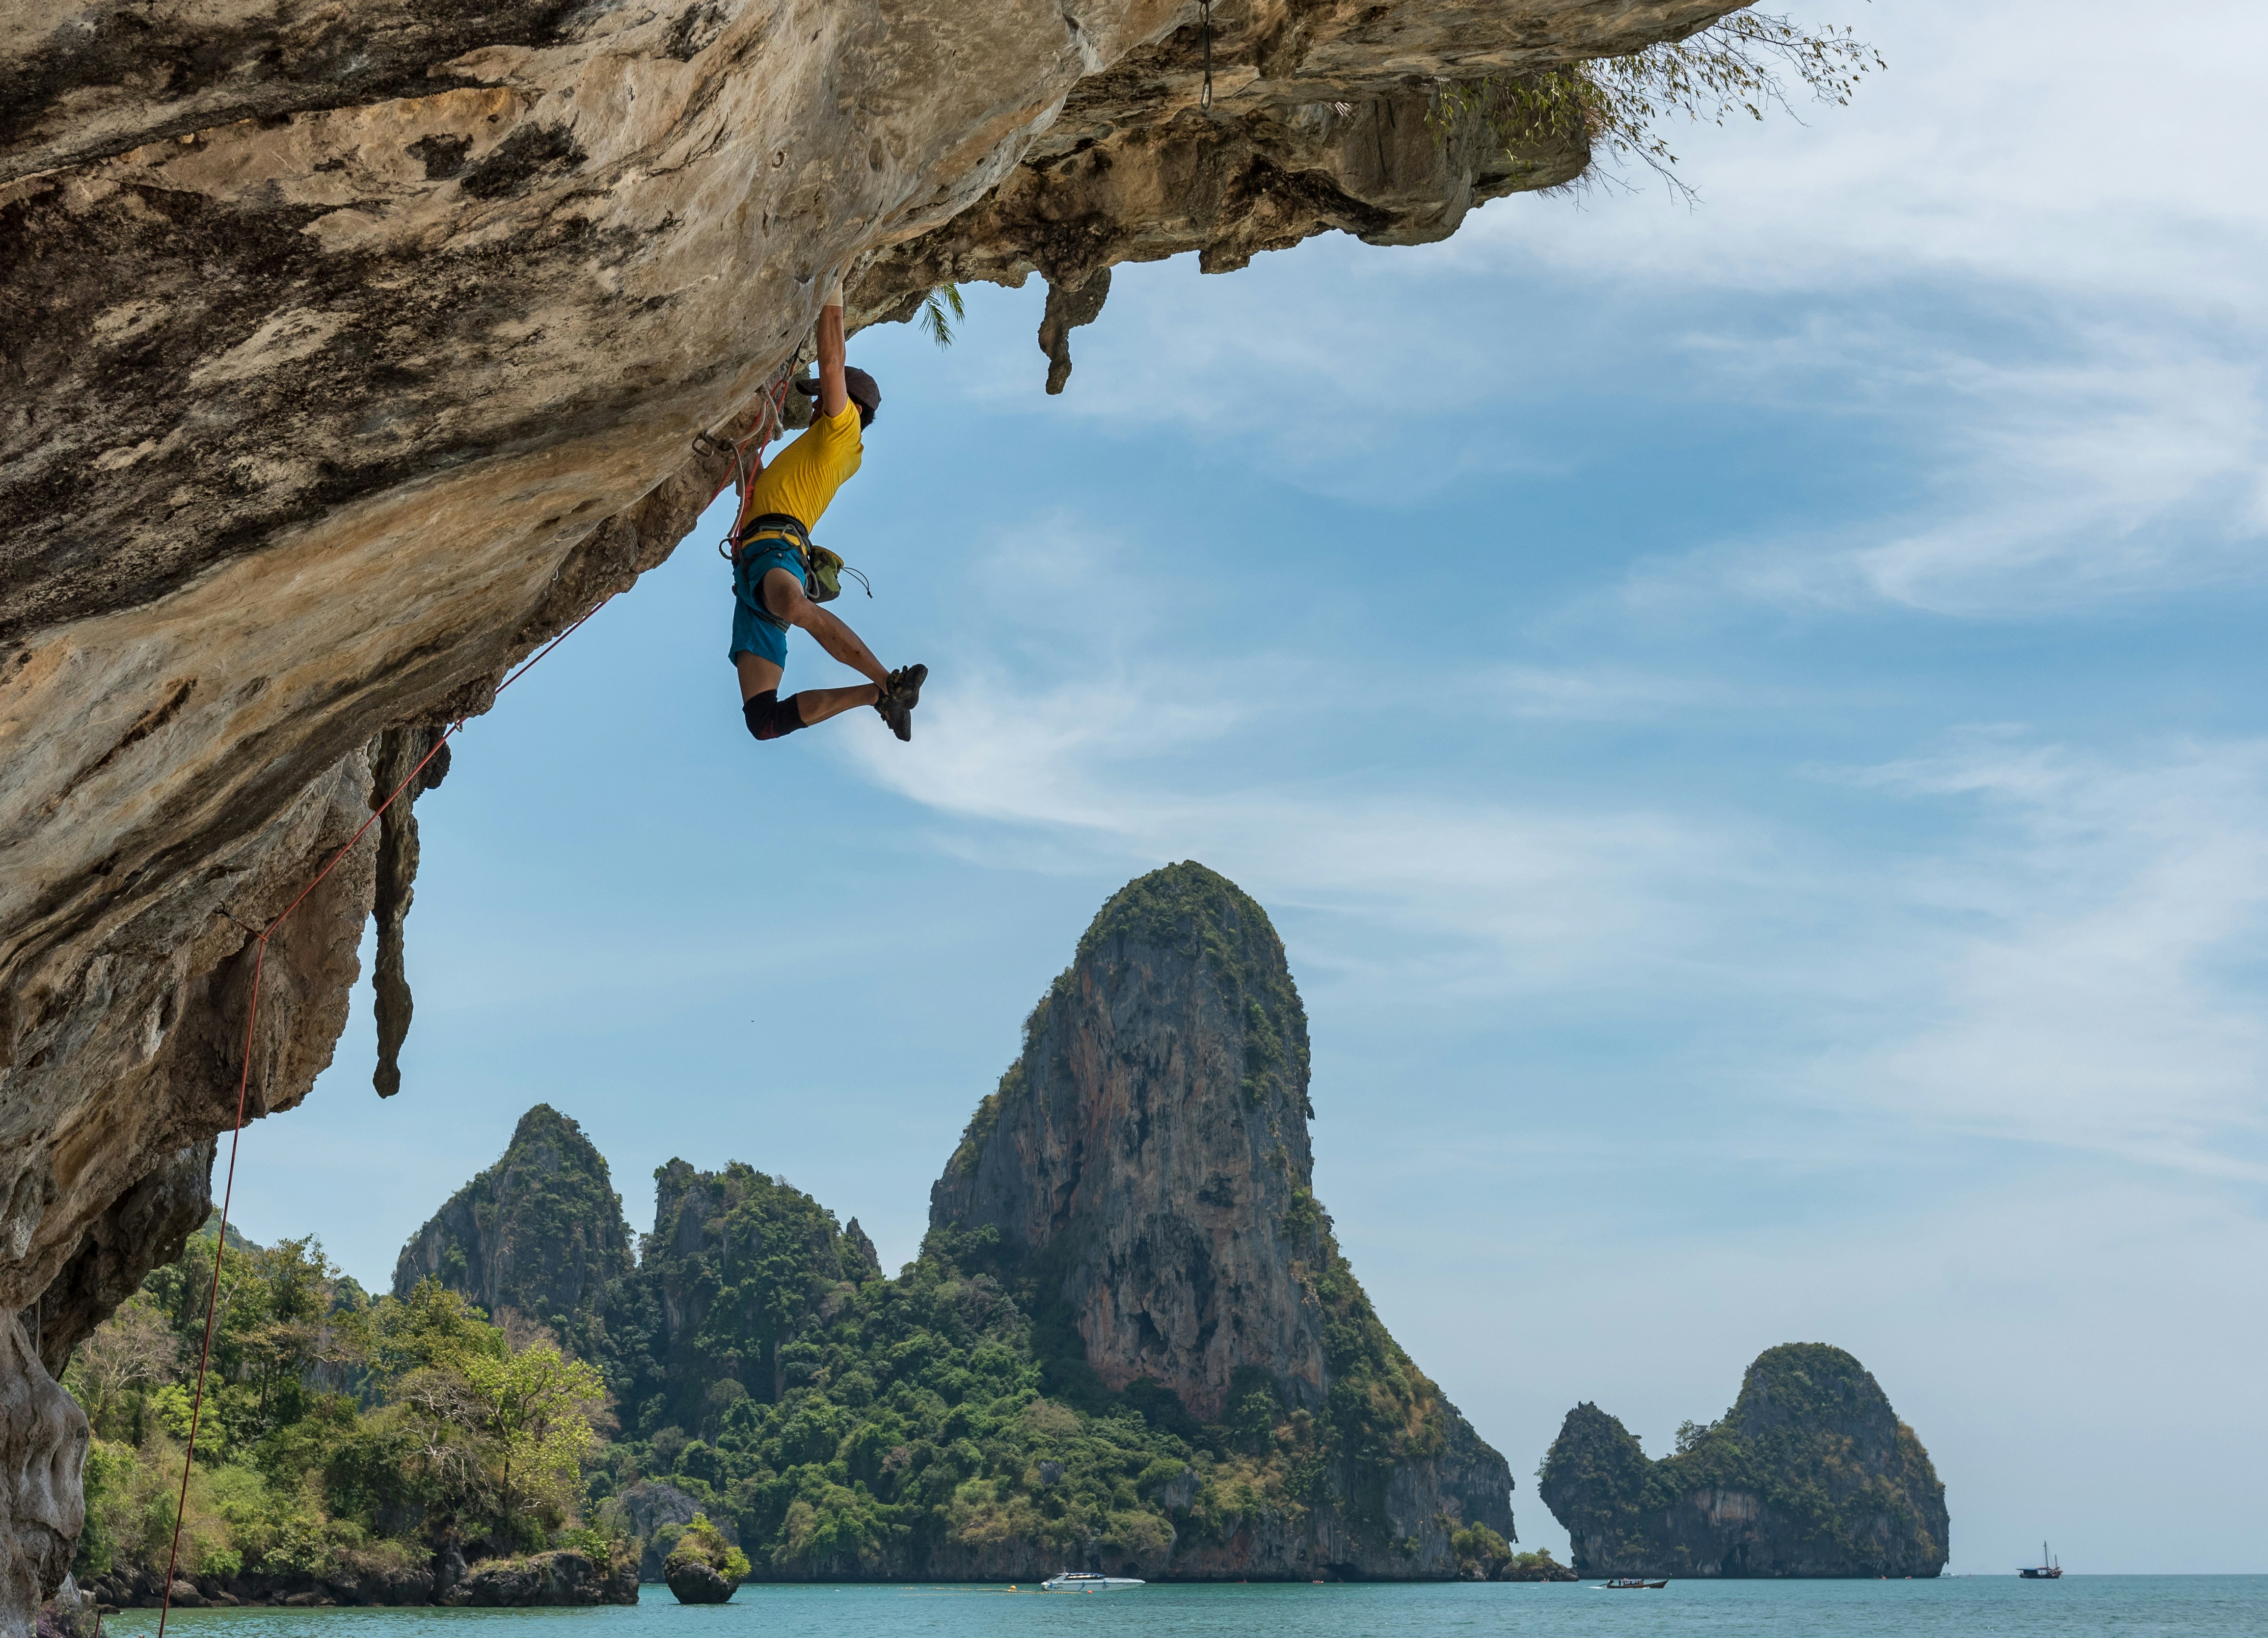
Rock climbing is an exciting and rewarding adventure sport, but mistakes can have serious consequences. Climbers must understand gravity, falling, equipment limitations, environmental hazards and the responsibility shared between climbing partners.
Safety procedures should never be ignored because a climb appears short, easy or familiar. Use equipment designed and certified for climbing, follow its manufacturer's instructions and practise the required techniques under qualified supervision.
Important safety notice
This article provides general awareness only. It is not a substitute for practical instruction from a qualified climbing instructor or guide. Do not attempt climbing, belaying, rappelling, anchor building or lead climbing solely from written or online instructions.
Understand the risks before you climb
Beginners can be particularly vulnerable because they may not yet recognise unsafe equipment configurations, poor rope management, unreliable anchors, communication failures or hazardous terrain.
Begin at a reputable climbing facility or with an experienced, appropriately qualified instructor. Before climbing outdoors, learn how to perform partner checks, belay correctly, communicate clearly and respond to foreseeable problems.
A small climb can still produce a serious fall. Respect the consequences, not merely the height.
Never climb beyond your training or judgement. Choose routes that are appropriate for your ability, experience and equipment. Conditions can also change because of heat, rain, loose rock, damaged hardware or other climbers above you.
Redundancy must be appropriate
Critical systems often incorporate redundancy, but simply adding more equipment does not automatically create a safe system. Each component must be suitable, compatible, correctly configured and properly loaded. Learn anchor and rescue systems from a qualified instructor rather than improvising them.
Ten essential rock-climbing safety practices
1. Check your harness and your partner's harness
Before every climb, the climber and belayer should perform a deliberate partner check. Do not assume that equipment is correct because you have used it previously or because your partner is experienced.
Confirm that each harness is being worn according to its manufacturer's instructions. Check that the waist belt is positioned and tightened correctly, the leg loops are properly adjusted and all required buckles are secured.
Some harnesses use different buckle systems. Never assume that every harness is fastened in the same way. Read and follow the instructions for the particular model being used.
- Waist belt correctly positioned
- Waist belt properly tightened
- Leg loops correctly adjusted
- Buckles secured as designed
- Harness free from obvious damage
- Correct attachment points used
2. Check your knots and rope attachment
Confirm that the climber is correctly tied into the harness through the attachment points specified by the harness manufacturer. A correctly dressed and finished figure-eight follow-through is commonly used for tying in, but it must be learned and practised under direct supervision.
Both partners should visually and physically inspect the knot. Confirm that it is correctly formed, properly tightened and has an appropriate tail according to the method taught by your instructor.
Never guess with knots
If either partner is uncertain about a knot or attachment point, do not begin climbing. Ask a qualified instructor to inspect the system.
3. Check the belay device and connector
Verify that the rope is loaded into the belay device in the correct orientation. Confirm that the device is attached to the correct point on the belayer's harness using a compatible locking connector.
Check that the carabiner is fully closed and locked. Also confirm that it is not cross-loaded, resting against another piece of equipment or positioned in a way that could interfere with its gate or locking mechanism.
Assisted-braking devices provide additional braking assistance, but they do not replace correct belay technique. The belayer must use the handling method specified by the manufacturer and maintain control of the brake side of the rope.
Before leaving the ground, confirm:
- The rope follows the device's correct loading direction.
- The device is compatible with the rope diameter.
- The connector is compatible, closed and locked.
- The system is attached to the correct harness point.
- The belayer knows how to operate that particular device.
4. Wear a certified climbing helmet outdoors
A climbing helmet helps protect the head from falling objects and certain impacts. It is particularly important outdoors, where loose rock, dropped equipment and uneven terrain can expose both the climber and belayer to head injuries.
The helmet must fit correctly, sit securely on the head and remain fastened. Inspect it according to its manufacturer's guidance and replace it when required after significant impact, damage, excessive wear or expiry of its recommended service life.
A helmet cannot prevent every injury, and wearing one does not justify standing in a rockfall zone or ignoring other hazards. Position the belayer carefully and remain alert to climbers, loose material and equipment overhead.
5. Use the correct rope and inspect it regularly
Different ropes are designed and certified for different purposes. Dynamic climbing ropes are designed to stretch under load and reduce the forces generated during a climbing fall. Low-stretch or static ropes are used for specific applications and must not be substituted for a dynamic rope in situations where a leader may fall.
Always use the type, diameter and length of rope required for the activity and compatible with the belay device. Check the route length carefully, including the distance required for lowering or rappelling.
Inspect the rope before and after use. Look and feel along its entire length for cuts, excessive fuzziness, glazing, flat areas, chemical contamination, exposed core, inconsistent stiffness or unusual soft sections.
Keep the rope away from sharp edges, moving vehicles, corrosive chemicals, open flames, excessive heat and contaminated surfaces. Follow the manufacturer's instructions regarding cleaning, storage, inspection and retirement.
Close the system when appropriate
When lowering or rappelling, an appropriate stopper knot at the relevant rope end can help prevent the rope from accidentally running through the belay or rappel device. The exact system and knot placement depend on the activity and must be taught correctly.
6. Give the climber your full attention
Belaying is an active responsibility. The belayer should continuously monitor the climber, rope, device, brake strand and surrounding area. Distractions can cause delayed reactions or serious handling errors.
Do not use a mobile phone, hold unnecessary conversations, manage children or animals, or perform unrelated tasks while belaying.
Lead climbing involves the possibility of a longer and more forceful fall than top-rope climbing. The belayer must manage slack correctly, anticipate clipping movements, remain appropriately positioned and be prepared to arrest a fall.
Never remove a climber from belay merely because you assume that the climber has reached the anchor. Use agreed climbing commands and obtain clear confirmation. Wind, distance and background noise can make verbal communication difficult, so establish the commands before climbing.
Common climbing commands
Climbing teams should agree on a limited set of clear commands for actions such as taking in rope, giving slack, lowering, being secure and coming off belay. Do not rely on commands that have not been clearly heard and understood.
7. Bring the equipment required for the route
Plan your equipment according to the route, climbing style, length, descent method, environmental conditions and emergency options. A guidebook or mobile application may be outdated or incomplete, so verify information using reliable and current sources.
For a sport-climbing route, confirm the approximate number of bolts, the anchor configuration, route length and lowering requirements. Carry sufficient compatible quickdraws and any additional equipment required for the planned system.
Do not deliberately carry too little equipment with the intention of improvising. Makeshift solutions created under pressure can introduce additional hazards.
Use an equipment inventory
Keeping equipment organised can make packing, checking and unpacking easier. Record important information such as:
- Equipment name and identification
- Manufacturer and model
- Purchase or first-use date
- Inspection history
- Significant falls or impacts
- Manufacturer retirement date
- Damage or contamination
- Recall and safety notices
Do not mark, label or modify safety equipment using materials that have not been approved by the manufacturer. Certain inks, chemicals, adhesives or alterations can damage equipment.
8. Keep the rope away from your legs
While climbing, remain aware of the rope's position relative to your feet and legs. Allowing a leg to pass behind or through the rope can create a risk of being inverted during a fall.
This is especially important while lead climbing, traversing or moving around the rope. Pause and correct your position rather than continuing with the rope wrapped around a foot or leg.
The belayer should also keep the rope organised and avoid standing on it. Use a rope bag or clean surface when possible to protect the rope from dirt, sharp objects and contamination.
9. Clip the rope and quickdraws correctly
Incorrect clipping can allow the rope to unclip, twist equipment or create dangerous fall behaviour. Climbers should understand and avoid back-clipping and z-clipping before attempting to lead climb.
Back-clipping
Back-clipping occurs when the rope is clipped through the rope-end carabiner in the wrong direction. During a fall, the rope may press against the gate and potentially unclip itself.
Z-clipping
Z-clipping occurs when the climber pulls rope from below the previous quickdraw and clips it into the next one. This produces a Z-shaped rope path, increases rope drag and can prevent normal upward movement.
Quickdraw orientation, gate direction and clipping technique depend on the route and direction of travel. These skills should be learned and practised in a controlled environment under qualified supervision.
Do not learn lead climbing by trial and error
Lead climbing requires practical training in clipping, belaying, fall management, rope position and route assessment. Begin under direct supervision at a reputable climbing facility or with a qualified instructor.
10. Evaluate outdoor anchors and fixed hardware
Fixed bolts and anchors are exposed to weather, corrosion, rock movement, installation errors, repeated loading and sometimes deliberate damage. Never assume that fixed hardware is safe solely because it is present.
Visually assess accessible hardware and the surrounding rock for obvious warning signs such as:
- Loose or rotating bolts and hangers
- Significant corrosion or rust staining
- Cracks, movement or hollow rock around the placement
- Bent, damaged or excessively worn hardware
- Sharp edges or severe wear grooves
- Mismatched or improvised components
- Missing nuts, hangers or connecting hardware
Visual inspection cannot reveal every internal defect. Coastal and humid environments can create serious corrosion that may not always be obvious from the surface. Consult local climbing organisations, route developers or qualified professionals for current information about fixed hardware.
Climbing anchors commonly use multiple suitable points as part of an appropriately constructed system. However, anchor building involves load direction, material strength, equalisation, extension, rock quality and system compatibility. It cannot be safely reduced to the rule that two or three bolts are automatically secure.
Never trust loose, severely corroded or visibly damaged hardware. Retreat using a method within your training and equipment capabilities, or obtain assistance.
Additional outdoor climbing precautions
Equipment checks are only one part of climbing safety. Outdoor climbers must also assess the environment and prepare for emergencies.
- Check weather conditions and avoid climbing during thunderstorms, extreme heat or unstable weather.
- Inspect the route for loose rock and warn others clearly when rock or equipment falls.
- Keep the base of the route clear of unnecessary people and equipment.
- Know the access restrictions, local climbing rules and emergency contact arrangements.
- Carry suitable water, sun protection, communication equipment and first-aid supplies.
- Establish a plan for retreat, injury or unexpected darkness.
- Do not climb alone unless you have specialised training for the particular activity and understand its additional risks.
Choose certified and compatible equipment
Your climbing system depends on every component functioning correctly. Purchase climbing equipment from reputable manufacturers and authorised suppliers. Look for applicable recognised certification, follow the user instructions and confirm that components are compatible with one another.
Inspect equipment regularly and check manufacturer websites for safety notices or recalls. Retire equipment according to the manufacturer's requirements or immediately after damage, contamination or an event that makes its condition uncertain.
Experience does not replace checking
Experienced climbers can also make mistakes. Use the same deliberate partner check before every climb, regardless of the route's difficulty or the experience of the team.
Final thoughts
Most preventable climbing incidents involve a breakdown in judgement, communication, preparation or equipment use. Develop habits that make checking automatic, but never allow the check itself to become casual.
Climb within your abilities, learn from qualified instructors and stop when something does not look or feel correct. No route, summit or photograph is worth bypassing a safety procedure.
Check yourself. Check your partner. Check the system. Then check it again whenever the system changes.
DubaiHiking.org Editorial Team
Our team publishes practical outdoor-safety information, hiking resources and community stories for explorers across Dubai and the UAE.